
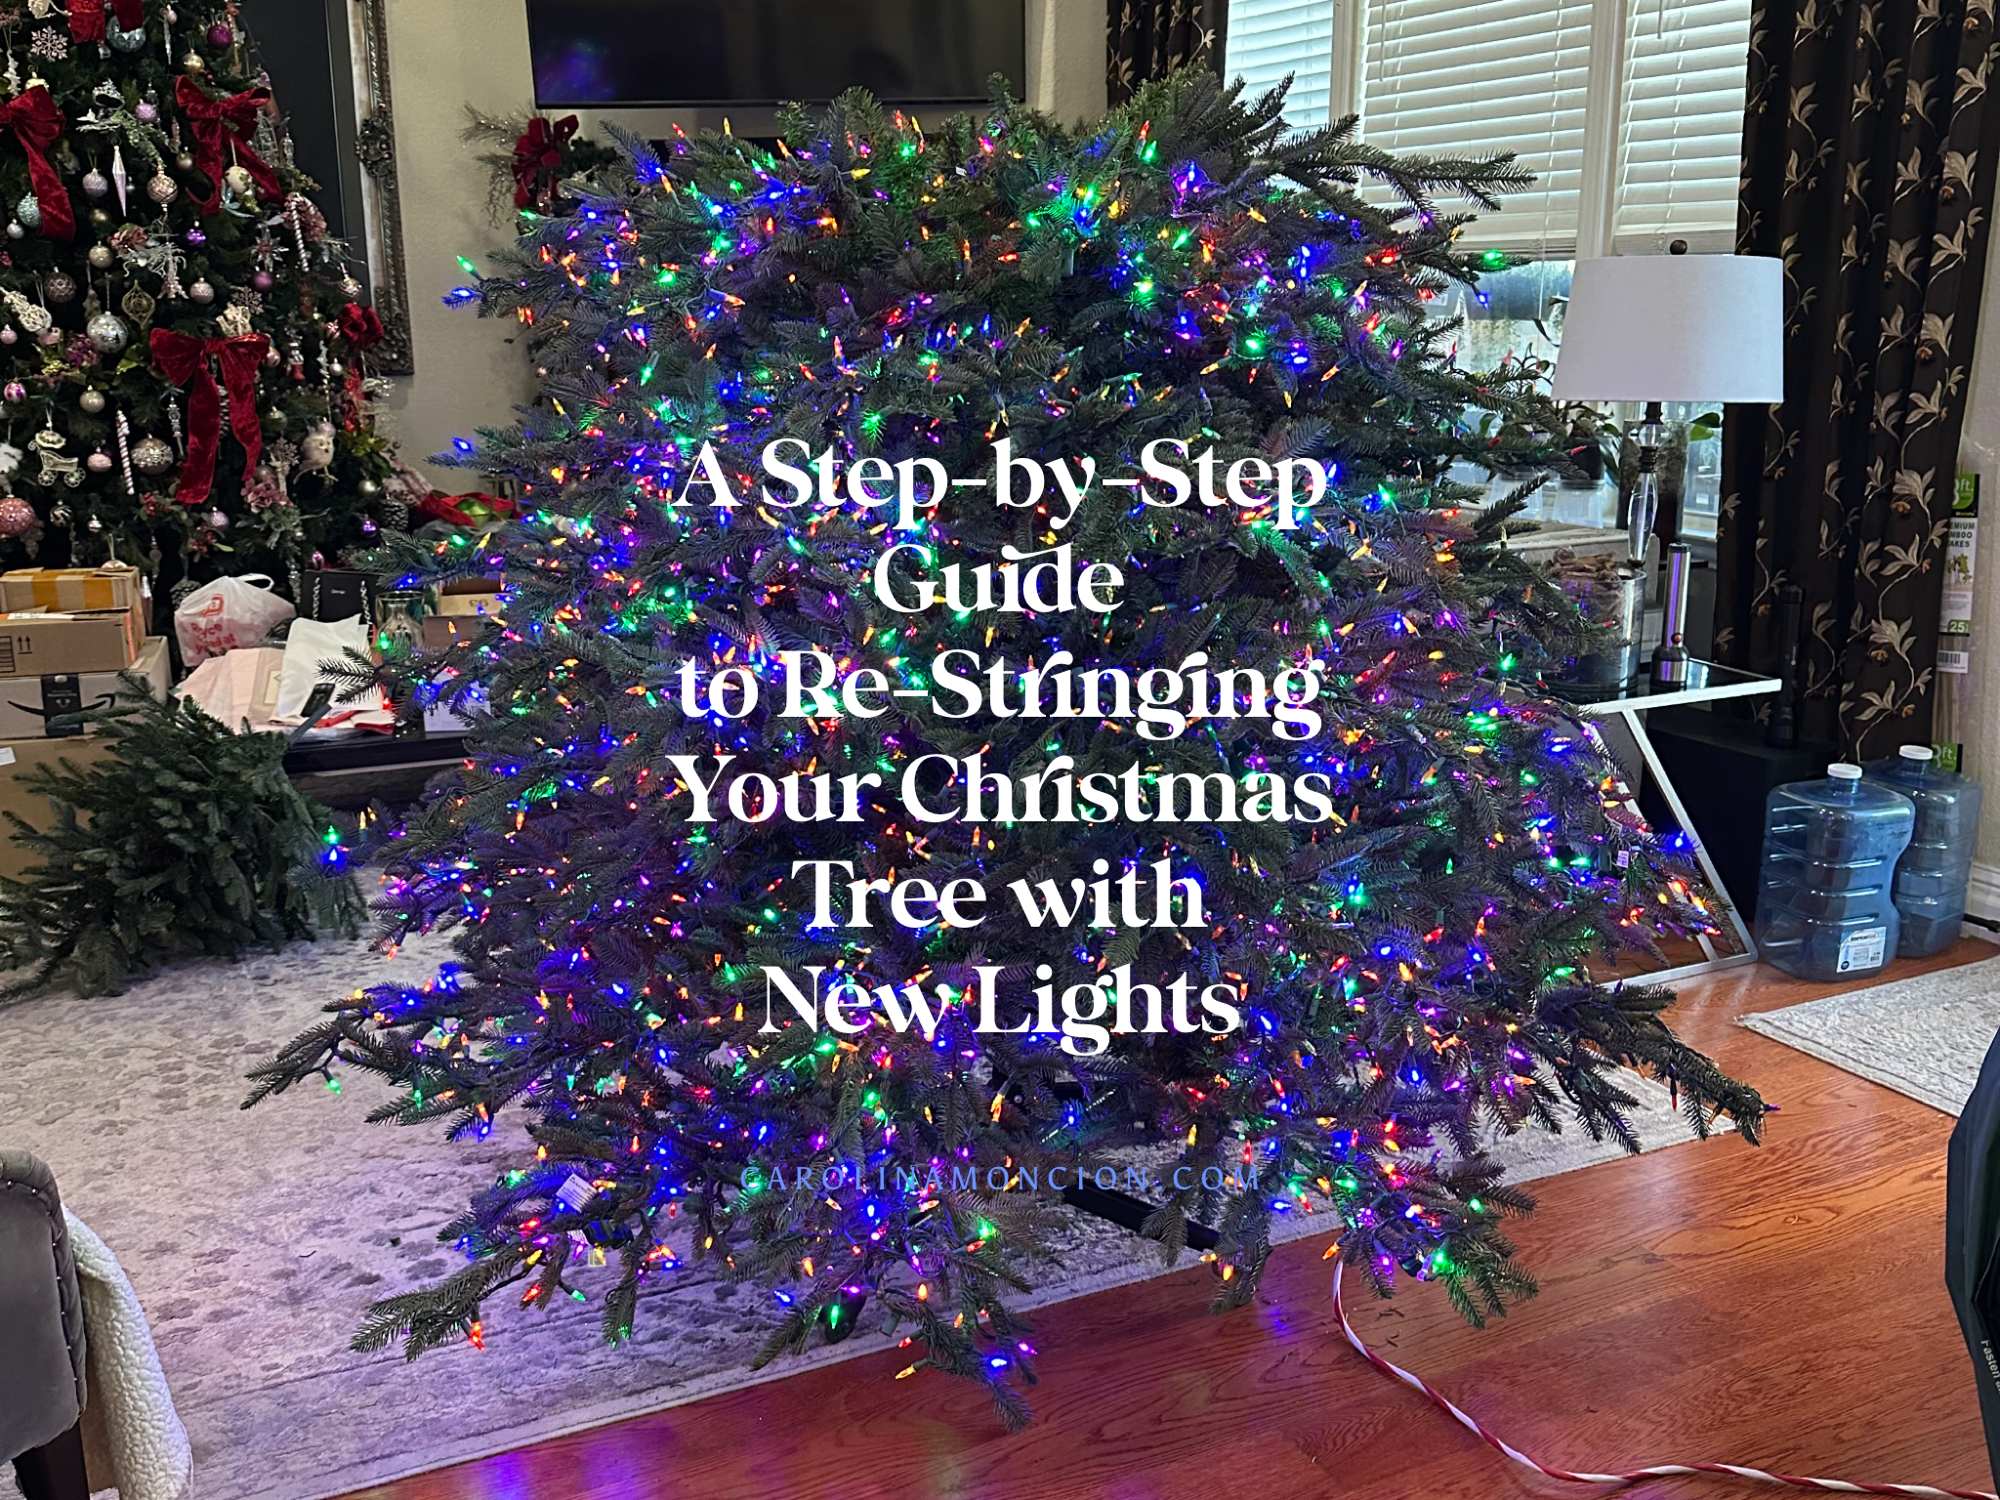
Over time, the lights on your Christmas tree can wear out, leaving sections unlit or the tree looking lackluster. Instead of buying a new tree, re-stringing it with fresh lights can breathe new life into your holiday decor. Although the process requires some patience, the result—a beautifully illuminated tree—is well worth the effort.
Here’s a detailed guide to help you re-string your Christmas tree with new lights.
Supplies You’ll Need:
• New light strings (LED or incandescent, depending on your preference)
• Extension cord (if necessary)
• Zip ties or twist ties (optional for securing wires)
• Scissors or wire cutters (for removing old lights)
• Gloves (to protect your hands from sharp branches)
Step 1: Remove the Old Lights
1. Unplug the Tree: Safety first—disconnect the tree from its power source.
2. Start from the Top: Locate where the old light string begins. Gently untangle it from the branches, working your way down.
3. Cut Stubborn Ties: If the old lights are attached with zip ties, clips, or wrapped tightly, use scissors or wire cutters to carefully remove them.
4. Inspect the Tree: Once all the old lights are removed, check for leftover hooks or debris.
Step 2: Choose the Right Lights
1. Measure Your Tree: Determine the height of your tree to estimate the number of lights needed. A general guideline is 100 lights per vertical foot.
2. Select Your Style: Decide between warm white, cool white, or multicolored lights. LED lights are energy-efficient and long-lasting, while incandescent lights offer a classic glow.
3. Check the Bulb Spacing: For fuller coverage, opt for light strings with shorter bulb spacing (2-3 inches).
Step 3: Prepare the Lights
1. Test the Lights: Plug in each new strand to ensure they’re working properly before you start.
2. Untangle and Organize: Lay the light strands out flat and untangle them for easier handling.
Step 4: String the Lights
1. Start at the Base: Plug in the first strand of lights and secure the plug near the base of the tree.
2. Work from Bottom to Top: Wrap the lights around each branch, moving upwards. This allows the light strands to be evenly distributed.
3. Wrap Each Branch:
• Begin at the trunk and wrap outward toward the branch tips.
• Wrap back inward to the trunk, creating a zig-zag pattern.
4. Connect Strands: When one strand ends, plug the next one into it and continue stringing.
Step 5: Secure and Test
1. Secure Loose Wires: Use zip ties or twist ties to hold light strands in place, especially in areas where the wires might slip.
2. Test as You Go: Periodically plug in the lights to check for gaps or unevenness. Adjust as needed.
3. Top It Off: Finish by wrapping the topmost section of the tree and securing the final plug near the back of the tree.
Step 6: Add a Tree Topper
Once the lights are in place, attach your tree topper. If it’s illuminated, ensure the topper’s cord blends seamlessly with your lighting arrangement.
Pro Tips for a Professional Look
• Mix Lighting Types: Combine mini lights with larger globe lights for depth.
• Layer with Net Lights: Drape net lights over the tree for quick and even coverage.
• Add a Dimmer: Use a dimmer switch to control the brightness and create ambiance.
Step 7: Enjoy Your New-Look Tree
With fresh lights and a little effort, your Christmas tree is now ready to shine brightly all season long. Decorate it with ornaments, garlands, and a tree skirt to complete the look.
Re-stringing your Christmas tree not only saves money but also ensures that every corner of your tree is perfectly lit. So, plug it in, step back, and bask in the glow of your handiwork!
I have done this with multiple trees and have taught friends how to do it! This year, I restrung a tree with color lights. 6,400 color lights. On a 9 foot tree. Yeah, that’s was work but it was well worth it since it was the Grinch Tree for our neighborhood kids and their families that visited during the Winter Break.


Have you tried re-stringing your Christmas tree? Share your experience in the comments below!





I'm interested in hearing your thoughts! Please leave a reply...